Dashboards
Set up dashboards to keep track of important data and metrics. For example, you can track year-to-date sales or learn the most common reasons why products are returned. If you created Custom fields, you can include them in dashboard widgets.
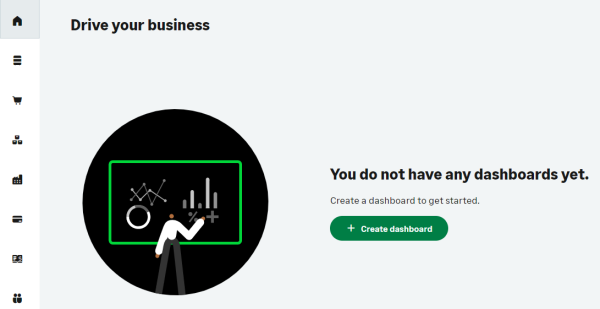
You can create and view dashboards on your home page.
Create a dashboard
You can create a dashboard from the Home page. Dashboards can have one or multiple widgets.

The dashboard wizard walks you through the process one step at time.
- Select Create dashboard and start with the blank template.
- You can name your dashboard now or at any time by selecting the Edit title icon next to the dashboard name.
- Select Add next to any of the widgets in the selection list to add your dashboard as a tile.
- The settings for each widget vary. Select the More actions icon on the widget tile to access settings.
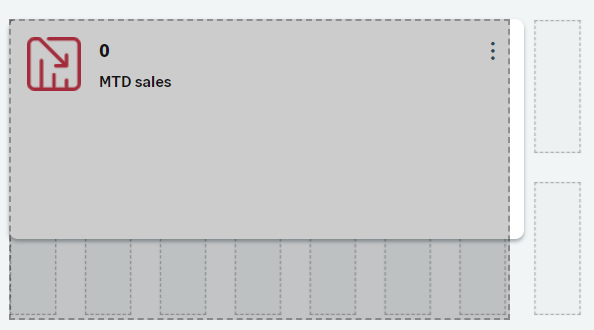
- Drag and drop widgets to different locations or select and hold the bottom right corner to resize a widget across 2 or more tiles.

Repeat these steps to create another dashboard. Each dashboard displays as a tab on your Home page.
Add standard widgets
To get you started, Sage provides several standard widgets to populate your dashboard in just a few clicks. For most of these you don't need to enter any settings. Data displays as soon as you add one of these to your dashboard.
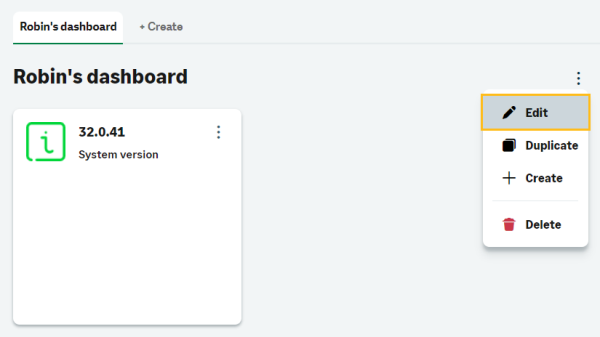
You see the list of widgets immediately after creating a new dashboard, or by selecting Edit from the More actions icon on an existing dashboard.
If you integrate with Sage Intacct, you can use widgets to track customer and supplier integration status.
You can easily view financial transactions and period close validations with widgets designed for tracking data such as unposted sales invoices, shipments and credit notes; purchase orders and receipts that were not received; and work order progress.
Create a custom widget
When working with your dashboard, you are not limited to the list of predefined widgets in the selection list. You can customise the data source, sorting, filtering and create your own layout.
- Select Create a widget to get started at the top of the selection list.
- Next, enter a title for your widget that displays on the widget tile on your dashboard.
- The Data source is the main data you want to track, such as accounts or items.
- You decide how your data displays:
- Indicator: a numerical value and a label
- Table: a grid of values
- Bar or Line chart: customised axes titles
- On the next panel, you select the type of data for your widget. The data available is based on the data source from step 3.
- The next few panels focus on content, filters and sorting. They vary slightly depending on the display type.
- You can choose your layout. For some displays types you can select an icon to display on the widget tile and colour.
- Finally, you can add links to your tile:
- See all creates a link to all records on a page. Enter a title and add a link in the Goes to field.
- Create is a shortcut to create a new record. Enter a title and add a link in the Goes to field.
Edit a dashboard
You can modify a dashboard by selecting an option from the More actions menu on the dashboard.

When you select Edit, you can add or remove widgets from the More actions icon on the widget tile.
Select Duplicate from the More actions icon on your dashboard and then customise.
When you Close a custom widget, it is removed from the dashboard and not saved.
Delete a dashboard
When you delete a dashboard, all the widgets on the dashboard are removed at the same time.
